In today’s guide, I am going to talk about how you can build a targeted list from Aweber and Facebook ads using an affiliate marketplace, such as ClickBank. By following this step-by-step guide, you’ll be able to learn how to generate a lot of leads at low prices and make commissions even once you’re done promoting the ads.
Please note: You are only using these as lead magnets, you don’t actually have to give them away. Your goal is to build a list for as little opt-in cost as possible, so you can later monetize it by promoting niche related offers to it.
So, without further ado, let’s get started!
Step 1: Head over to ClickBank
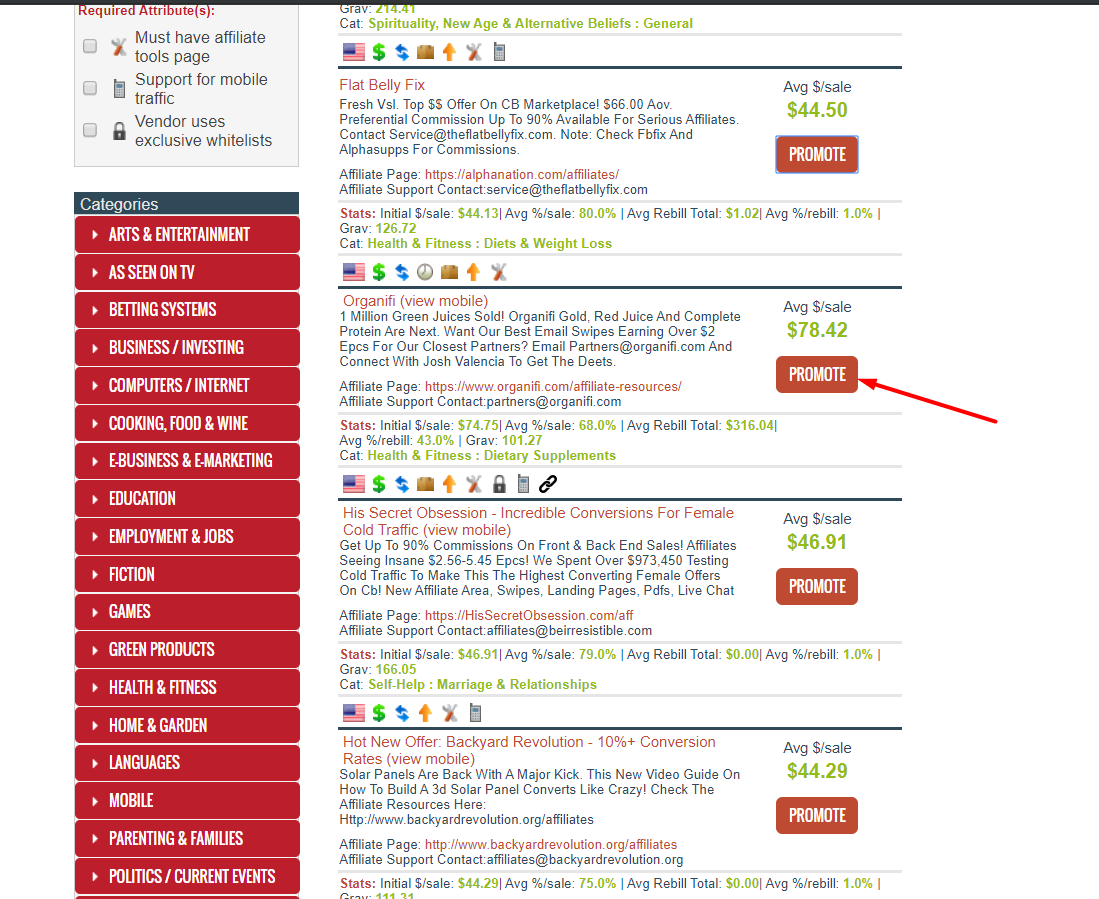
ClickBank is a place where you can find a great deal of offers in a number of niches. To browse through the offers, simply click on Affiliate Marketplace at the top of the page, and then select a category from the sidebar to your left. If you want to see the top 10 offers of the week, click on the magnifying glass by the Find Products search bar.
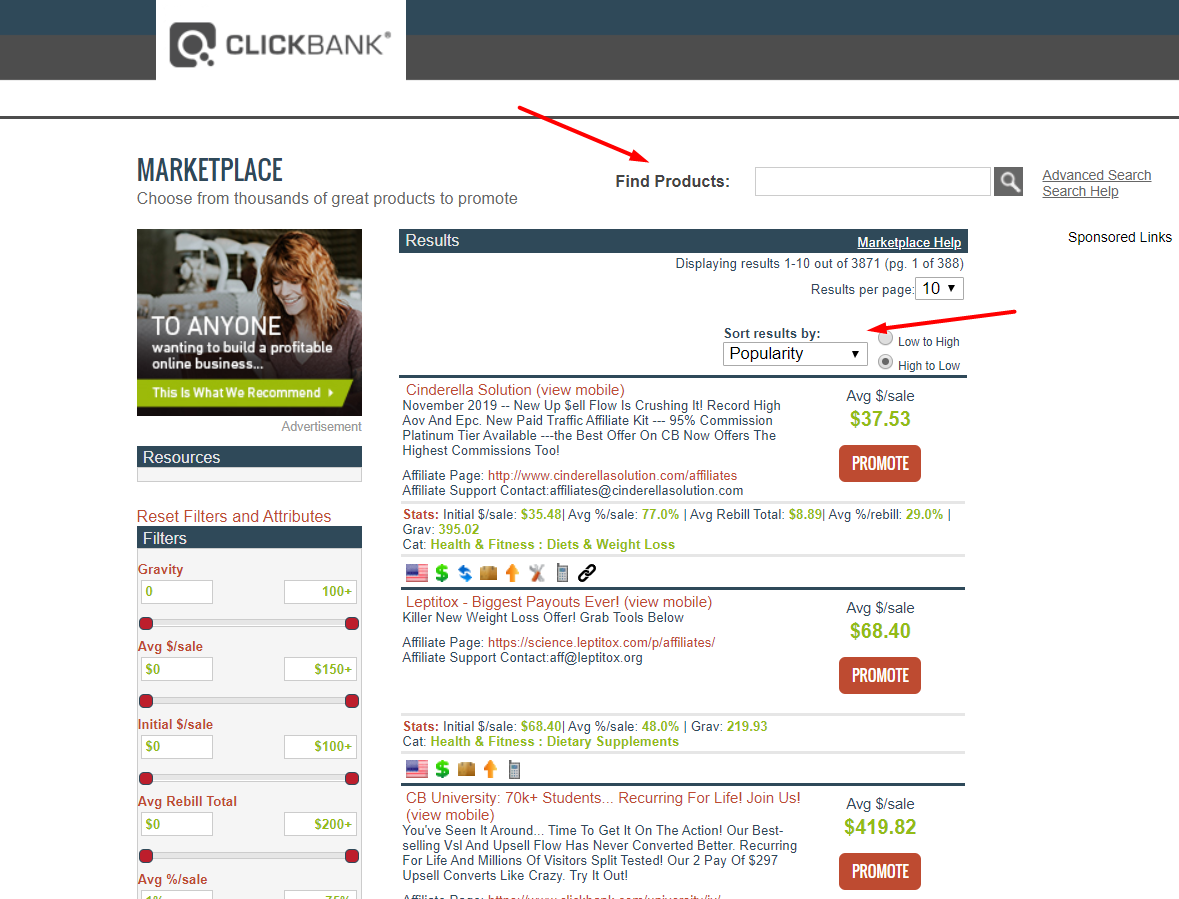
Choose any of the offers available and click on the affiliate page link found in the description. The affiliate page will provide you with the necessary information on how to promote an offer — for the purposes of this guide, I have chosen Organifi Green Juice — but one of the best ways to do this from my experience is to organize a giveaway.
Step 2: Find a product for a free giveaway
In order to find something to give away, you can visit Amazon or AliExpress, and search for products related (in this case) to healthy foods or drinks. Find an item (e.g. a water bottle or a book on living a healthy lifestyle) to include in your giveaway, i.e. something that people would love to receive free of charge.
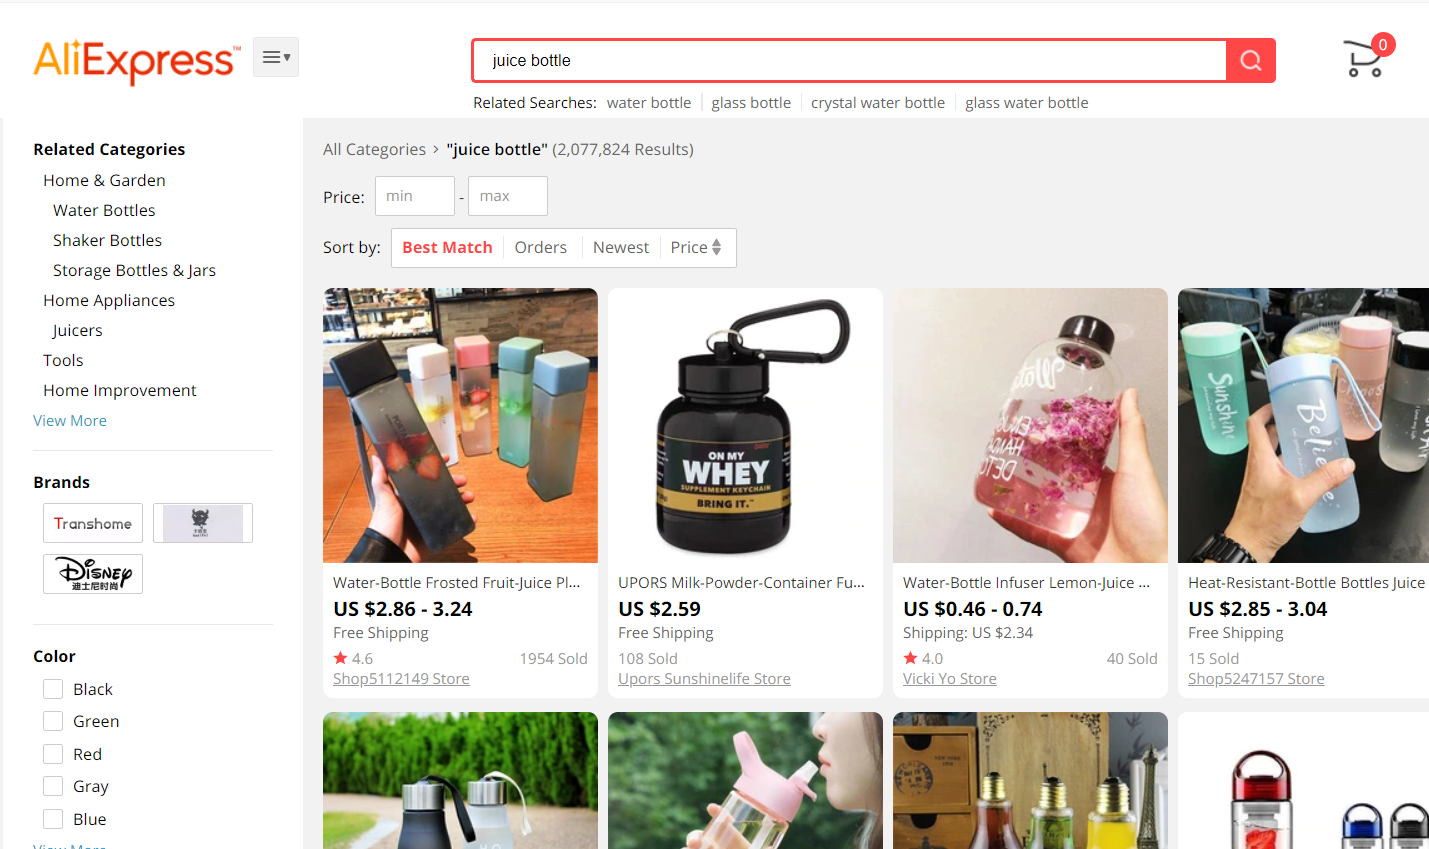
It’s important to remember that you should give away something of value, because if you do, it will be easier for you to get your list and that is where the money is. However, the product you choose doesn’t have to be too expensive.
Step 3: Create a post for the giveaway
Once you find a product you want to use, take a screenshot or save the image of the product for your Facebook post. Then, go to canva.com or your preferred website for image editing, and head over to Create a design > Facebook post.
Don’t worry — Canva offers a variety of templates when it comes to creating a Facebook (or any other) post, so you can go ahead and pick one if you do not want to start from scratch. If you have a bit more experience in this department, you can start from a blank canvas and let your creativity run wild.
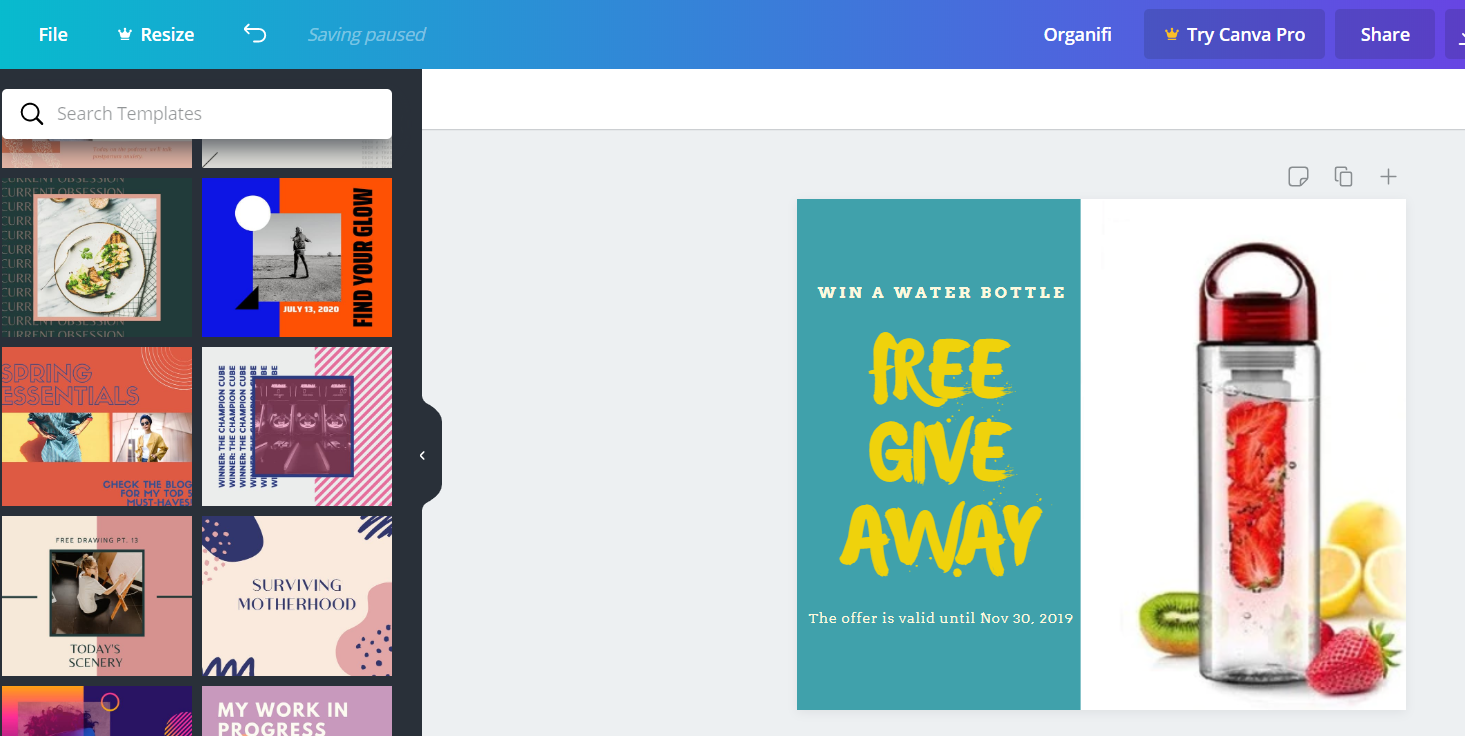
Once you have created a free giveaway poster, download it to your computer, and then move on to setting up your list.
Step 4: Head to AWeber to set up your list
If you don’t already have an account on AWeber, sign up to create an account. There’s an option for a Free Trial in case you just want to test it out without paying straight away. If you do have an account, go to Manage lists > Create a list. Name your list e.g. Organifi and then click on it.
Fill out any information you need on this page: personalize your list, create a confirmation message, etc. Then, make sure to obtain the affiliate link to the product you’ll be promoting from the product affiliate page.
Once you have the link (you can give it a name for easier tracking), place it in the field at the bottom of the Confirmation message page back at AWeber called Custom success page URL.
After you’re done, click the Save settings option.
Step 5: Create your Facebook campaign
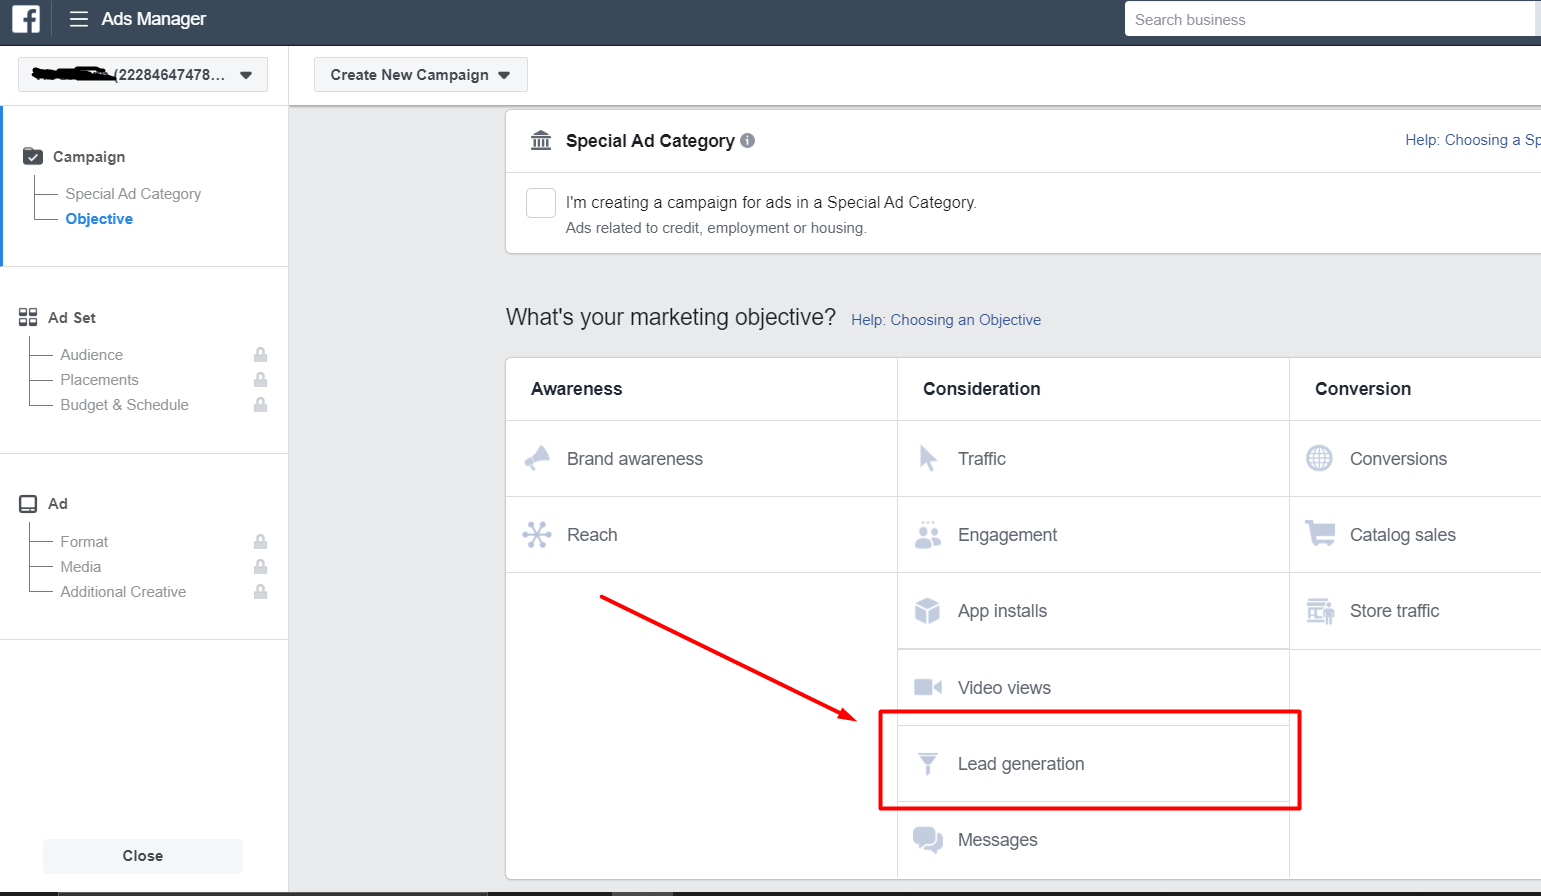
After creating and setting up your list on AWeber, go to Facebook’s Ads Manager to create your free giveaway campaign. As your marketing objective, choose Lead generation, since the whole point of the campaign is to acquire leads for your list.
In order to be able to run a campaign, you’re going to need a Facebook page that’s related to the product you’re trying to promote, i.e. Organifi Green Juice. You can create a page straight from the Ads Manager by clicking on the plus sign next to your personal FB page (or another page that you already have).
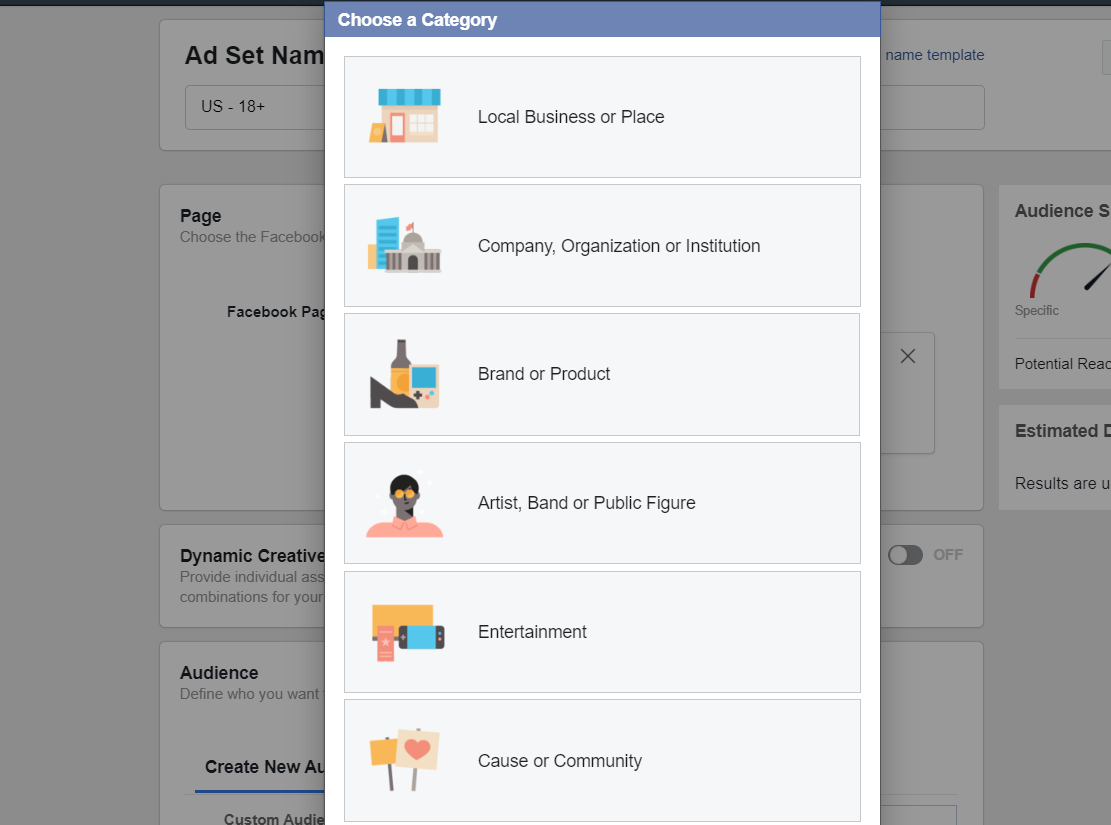
Select the right category for your page, give it a name, upload a photo, and fill out any other necessary information in the pop-up window. For the photo and details about the product, you can head back to the affiliate page you’re planning to promote and grab everything you need there.
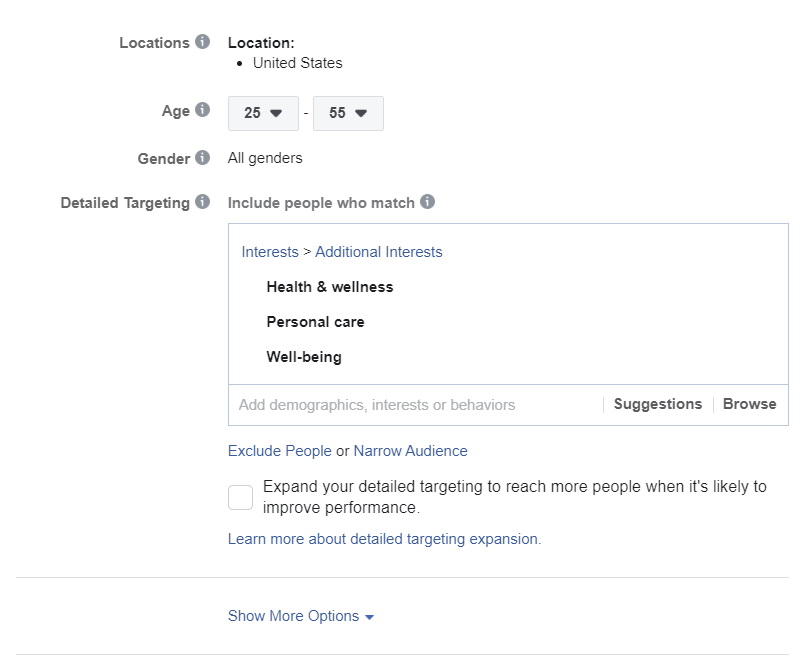
With that done, continue with the creation of your giveaway campaign. Select the appropriate audience for your ad, e.g. the United States, men and women between 20 and 50 years old who are interested in health, healthy lifestyles, and so on. Make sure to pay attention to your estimated daily reach and if it seems like too much, remove some of the interests that you put down in Detailed targeting.
After you’re done with fine-tuning your audience, be sure to set the budget for your campaign. My recommendation is to start with $5 as your daily budget, since the main goal here is to get leads from this campaign.
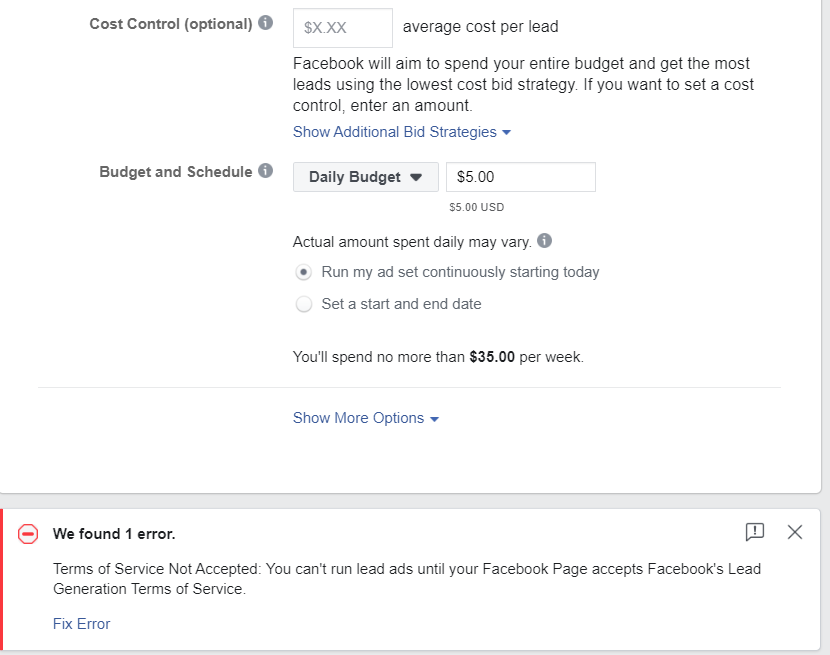
Note: In case an error pops up at the bottom of the page, check whether you have accepted the Terms & Conditions at the beginning of the page. You won’t be able to continue without doing so!
Next, select Single image as a format for your ad and upload the photo you saved from Canva earlier. Fill out the text, headline, and other fields necessary for your ad, and don’t forget to add links to the offer you found on ClickBank.
In order for people to be able to leave their email to you, you’re going to need a form which you can create at the bottom of the page. Click on +New form and enter the information you want people to see on your lead form. Depending on the goal of your campaign, choose the type of form you want: more volume or higher intent. In this case, it’s going to be more volume.
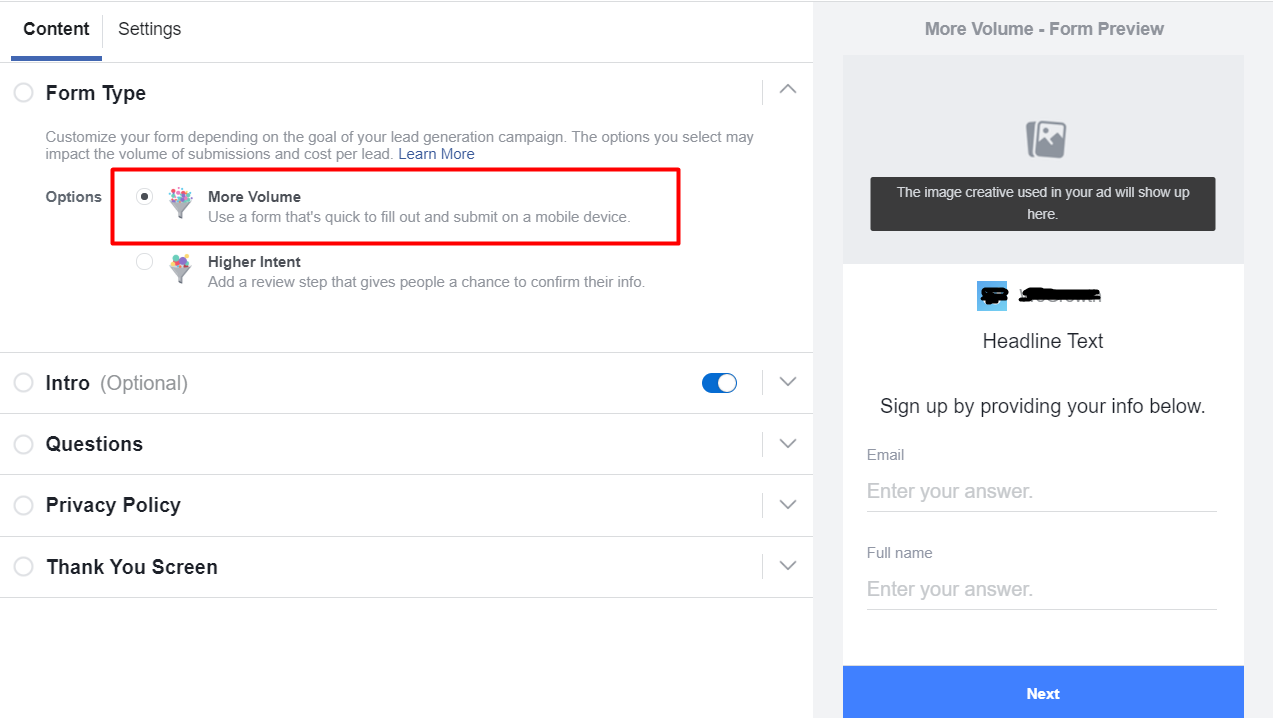
In the Intro section, you can write a headline for your form, upload an image, and write a short paragraph about what your form is for. In the Questions section, you can decide which fields you want displayed within your form, e.g. Email, Full Name, etc.
An important part of your lead form is the Privacy Policy section which you do not want to skip out on. You can create your own custom disclaimer or you can enter a link to the company’s — Organifi’s — Privacy Policy. The PP can usually be found at the bottom of the affiliate page you get your information from.
Finally, in the Thank you screen section, add headline, description, and the affiliate website link, so that the people that see your form are redirected to that website.
Now you’re all set to run your campaign and start collecting leads.
Step 6: Get the leads from your ad results
After allowing your ad to run for 24 hours, you’ll want to go to your Account Overview and click on the Ad set name > Leads form in the Results tab of your Dashboard. Set the Date range in the pop-up window to lifetime and then click on the Download button. You will get an Excel sheet with your collected leads so far, which you’ll add to the list you previously created on AWeber.
On AWeber, select your list and then click on Add subscribers > Import more than 10
subscribers. Choose the Excel sheet with your leads from your files and upload it to AWeber.
Note: You will want to do this on a daily basis, as your acquire more leads through your Facebook campaign.
Ensure that the subscriber information is correct (emails and names), and then choose the option Other in the How did they join? part of your lead uploading. You can write that your leads are taking part in a free giveaway in the box or something to that extent, and that you’re running the giveaway through Facebook. Finalize the uploading of your leads by adding a tag to your list e.g. healthy lifestyle.
That’s it — you have your targeted list of leads acquired through Facebook ads! If you have any additional questions about this guide and the entire process, feel free to contact us.
EXTRA TIP: You can start with the manual method first, as described in step #6, and then later switch to automation using ZAPIER in order to get the leads posted from FB directly to your AWeber account.